KickSide/Setup
Here's the install, and the first five minutes
Two commands. Paste them into a terminal on your laptop, a server, or a cloud box. It takes about a minute, and everything stays on that machine.
curl -fsSL https://get.wippy.ai | shwippy install kicksideWhen it finishes it prints a local address. Open that in your browser and you are looking at your own copy. If you gave us an email, the setup guide is on its way and we'll check in once at day seven to ask how it went. That's the whole list. If you didn't, everything you need is on this page.
What you need, and what you don't
You need a terminal and outbound internet
A machine you can open a terminal on and outbound internet access. That is genuinely it. No account, no card, no licence key, and nothing to switch on at our end.
You will want somewhere it can stay running
Once other people start relying on it, it needs a home. A laptop is perfect for finding out whether you like it and a poor place for something your team depends on, so most people move to a small cloud box within the first week. Your copy and everything in it moves with you.
You will need model keys eventually, but not to install
You connect your own AI provider and pay them directly. We never see the keys and we don't mark up what you spend with them.
Get to something useful before you close the terminal
Four steps from the address the installer printed to a list waiting for you in the morning.
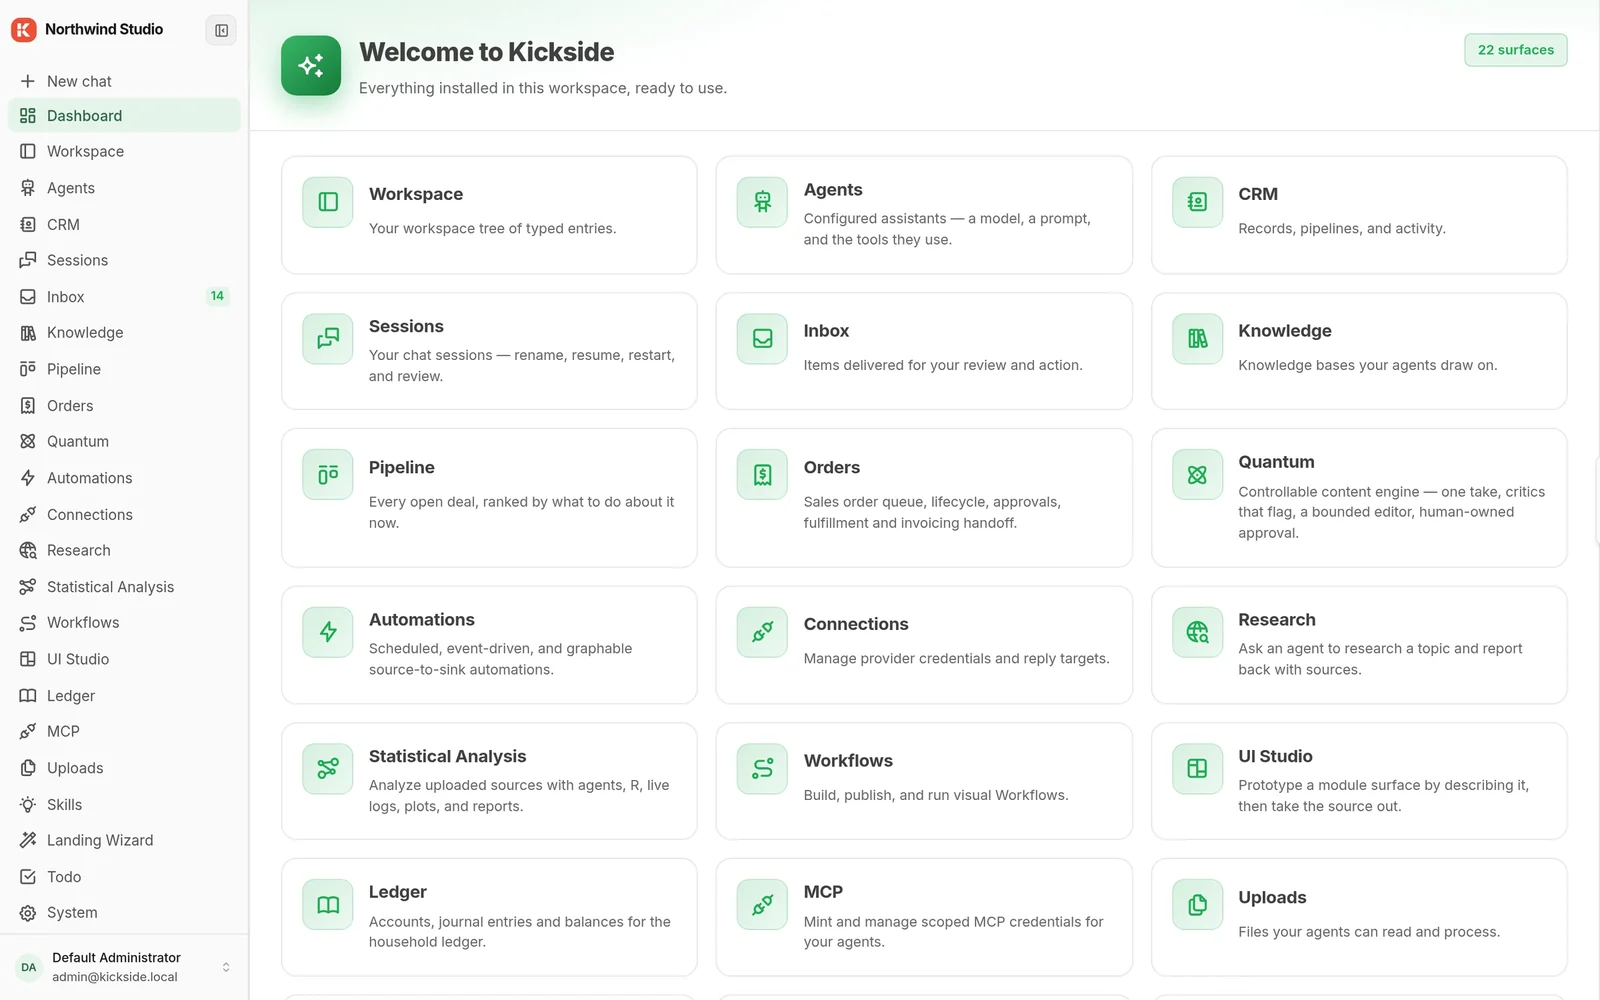
Open it
Use the address the installer printed. You'll see the core pieces already in place: contacts, deals, an approval inbox, documents, automations.
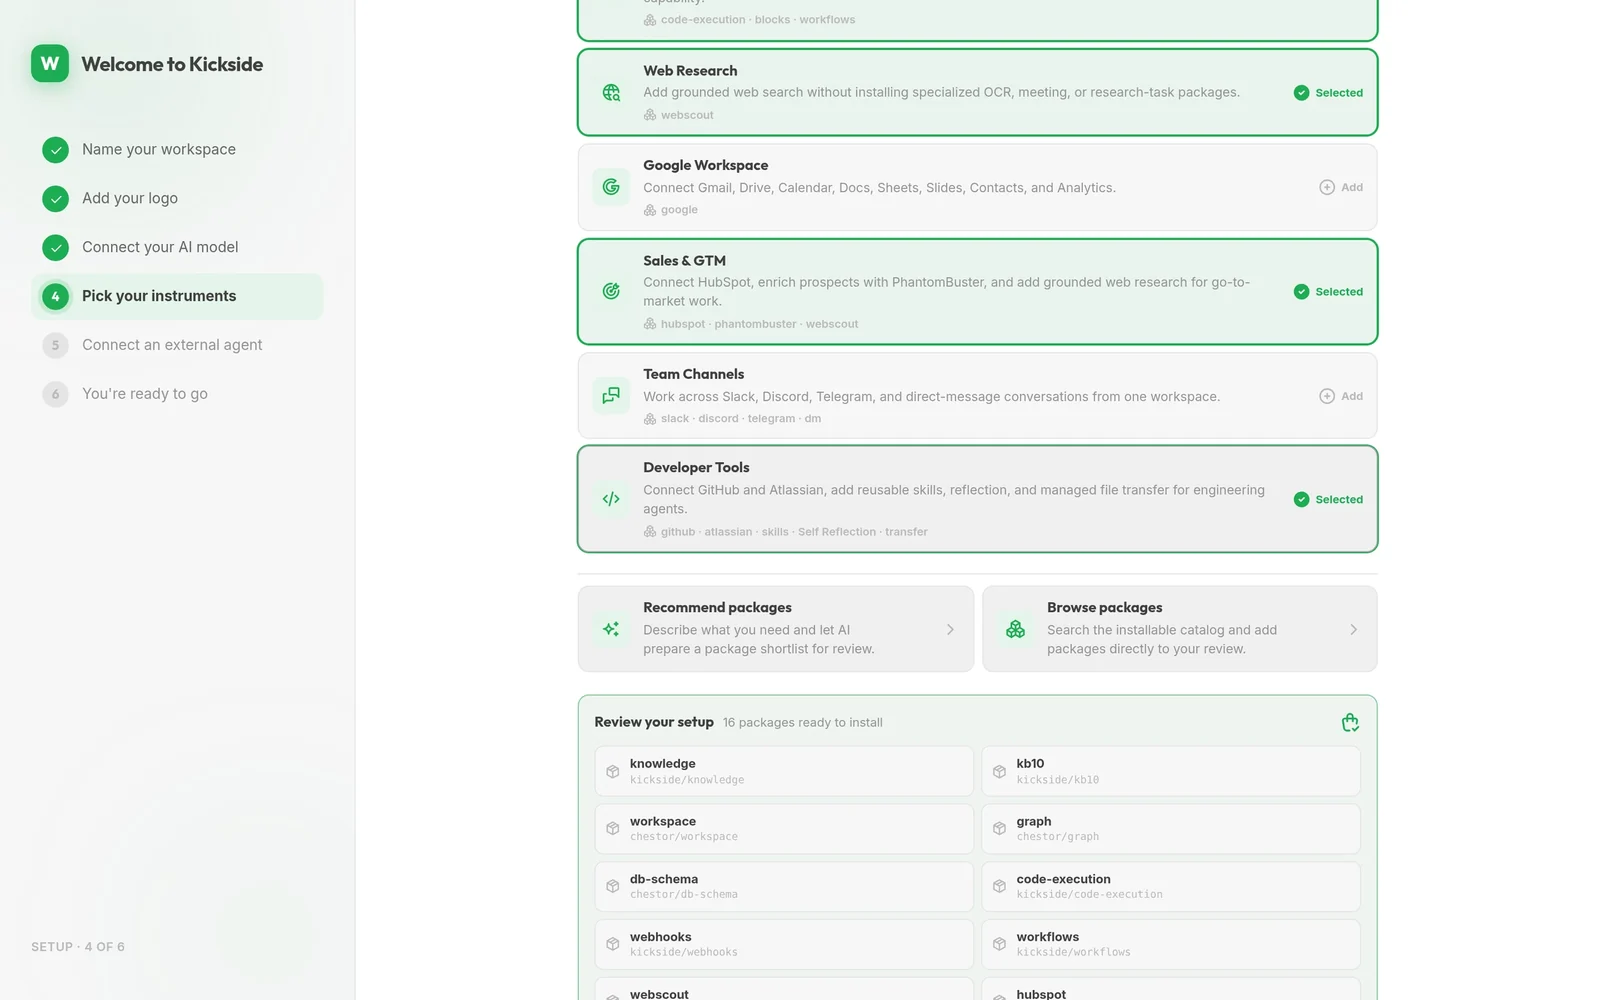
Connect one thing
HubSpot, Gmail, or Slack. One connection is enough to be looking at your own data instead of sample data.
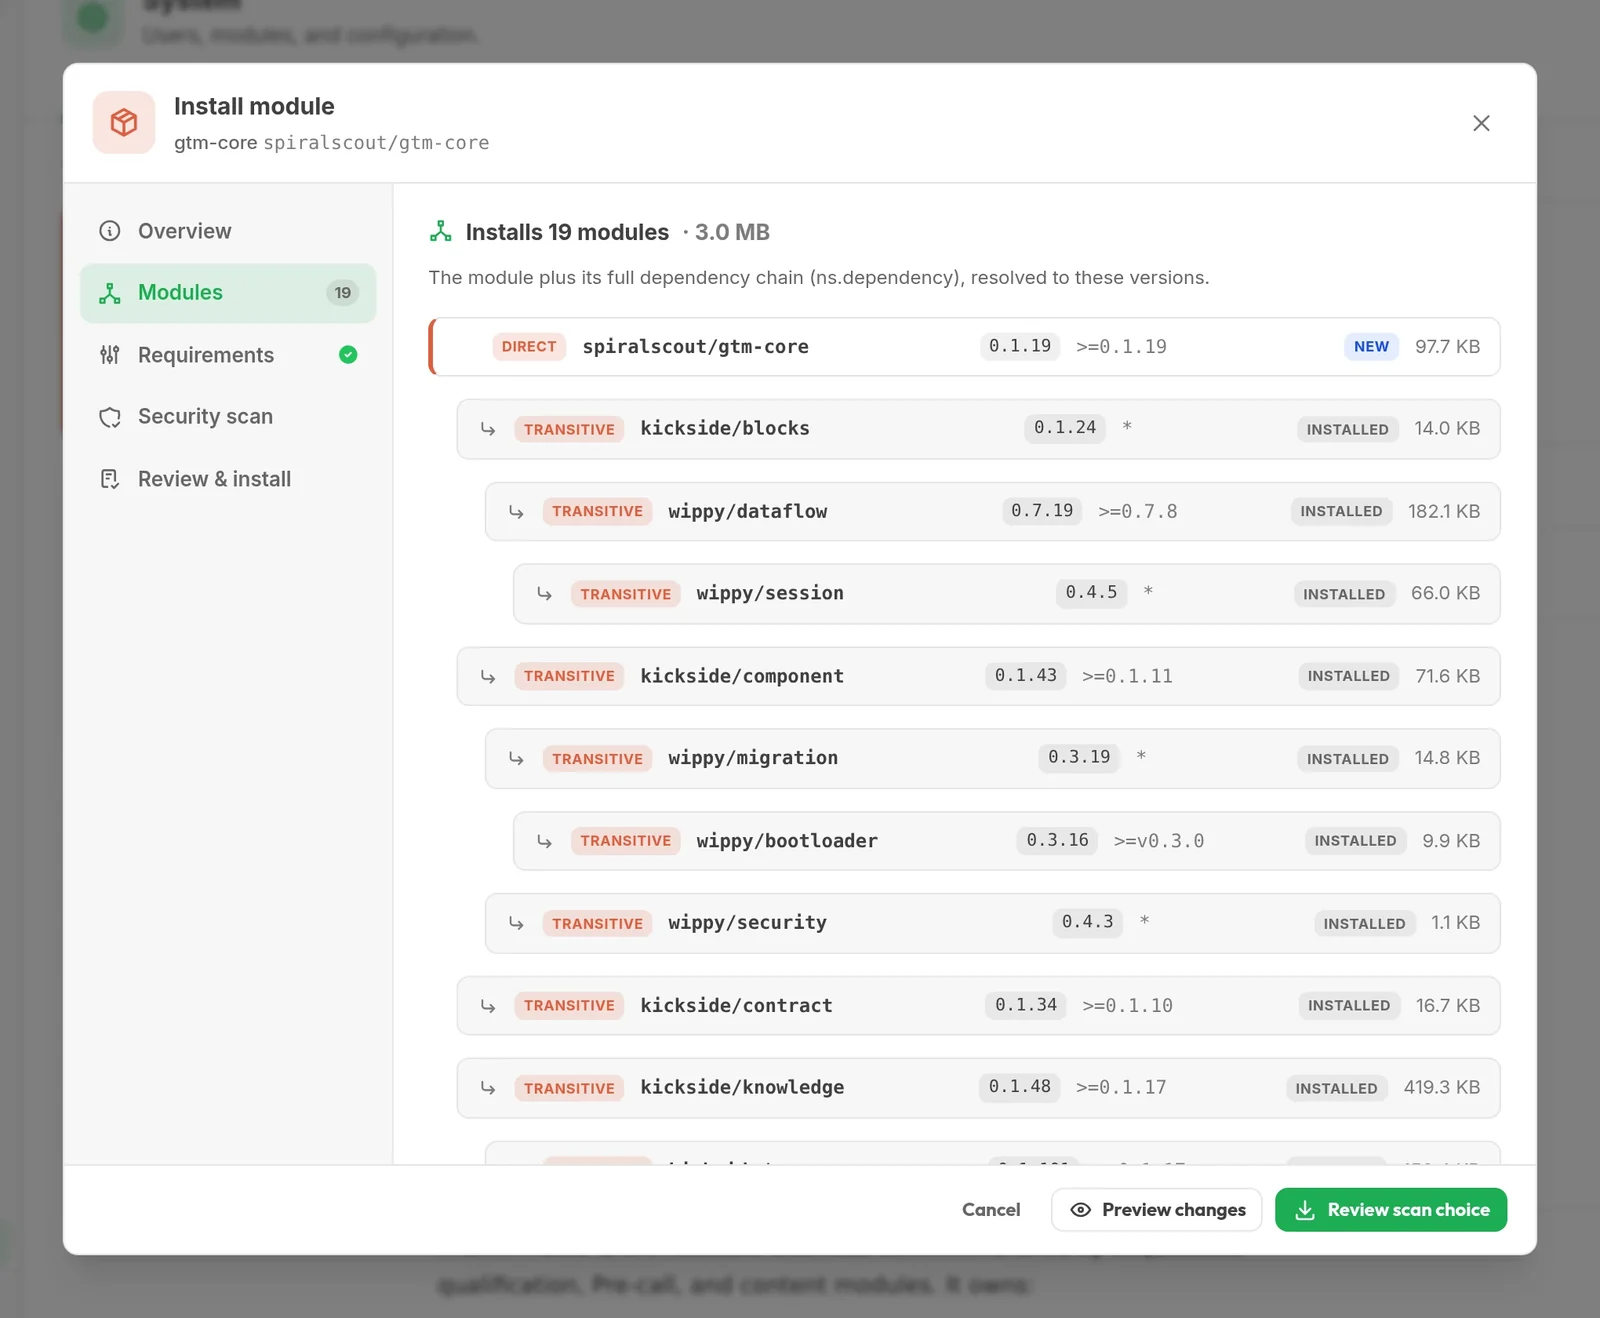
Add a module
Start with one from a use case below, install one from the Hub, or point the AI tool you already use at it and build your own. A module from GitHub or anywhere else installs fine and shows as unverified.
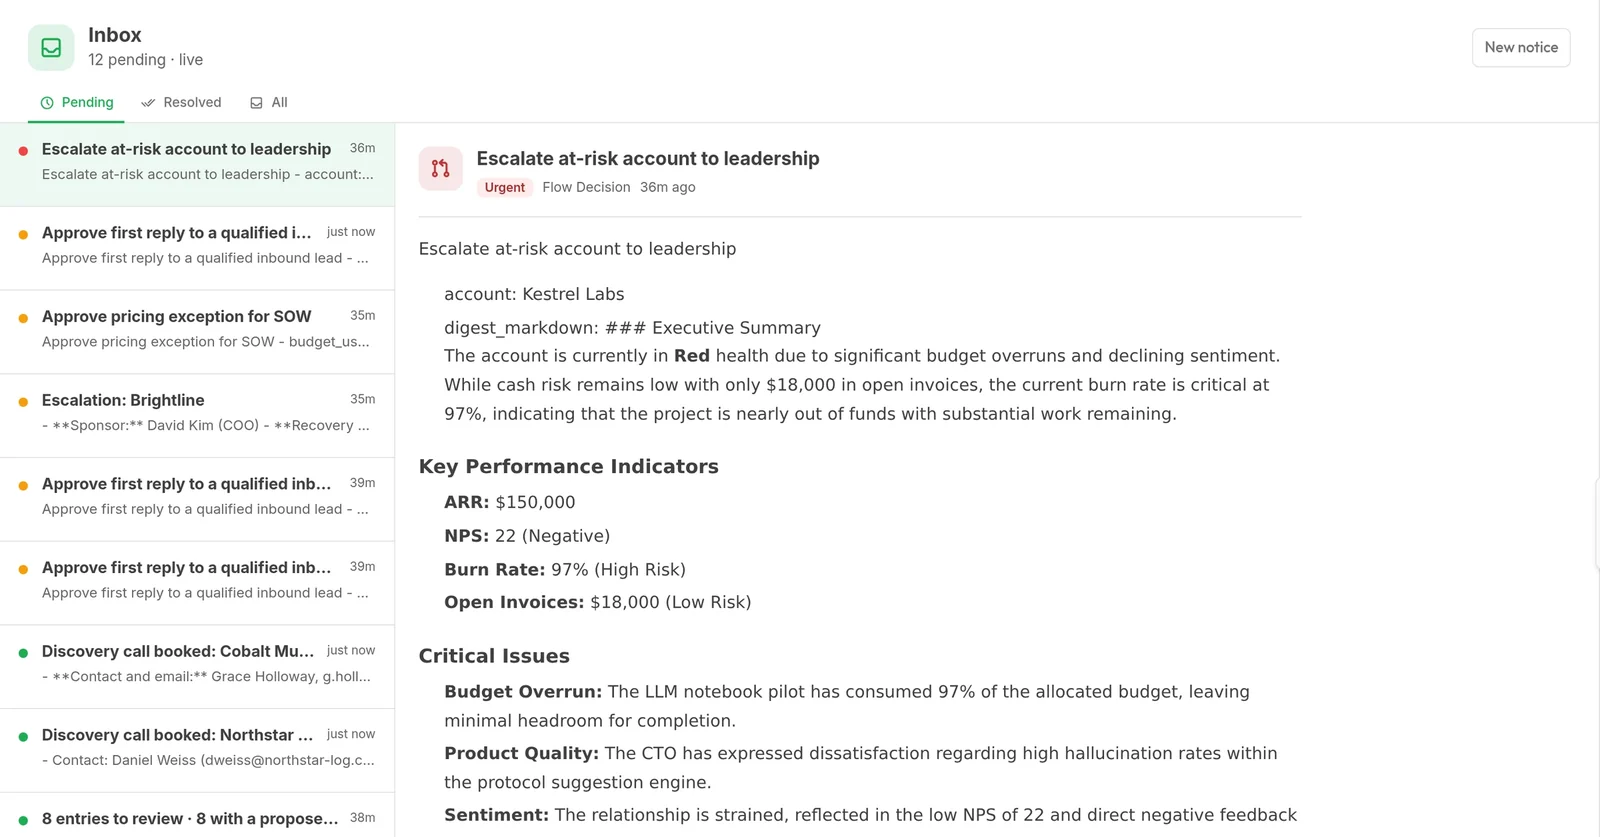
Let it run overnight
The deal-health monitor is the quickest win: connect HubSpot, turn it on, and there's a list waiting for you in the morning.
The setup screens, as they look
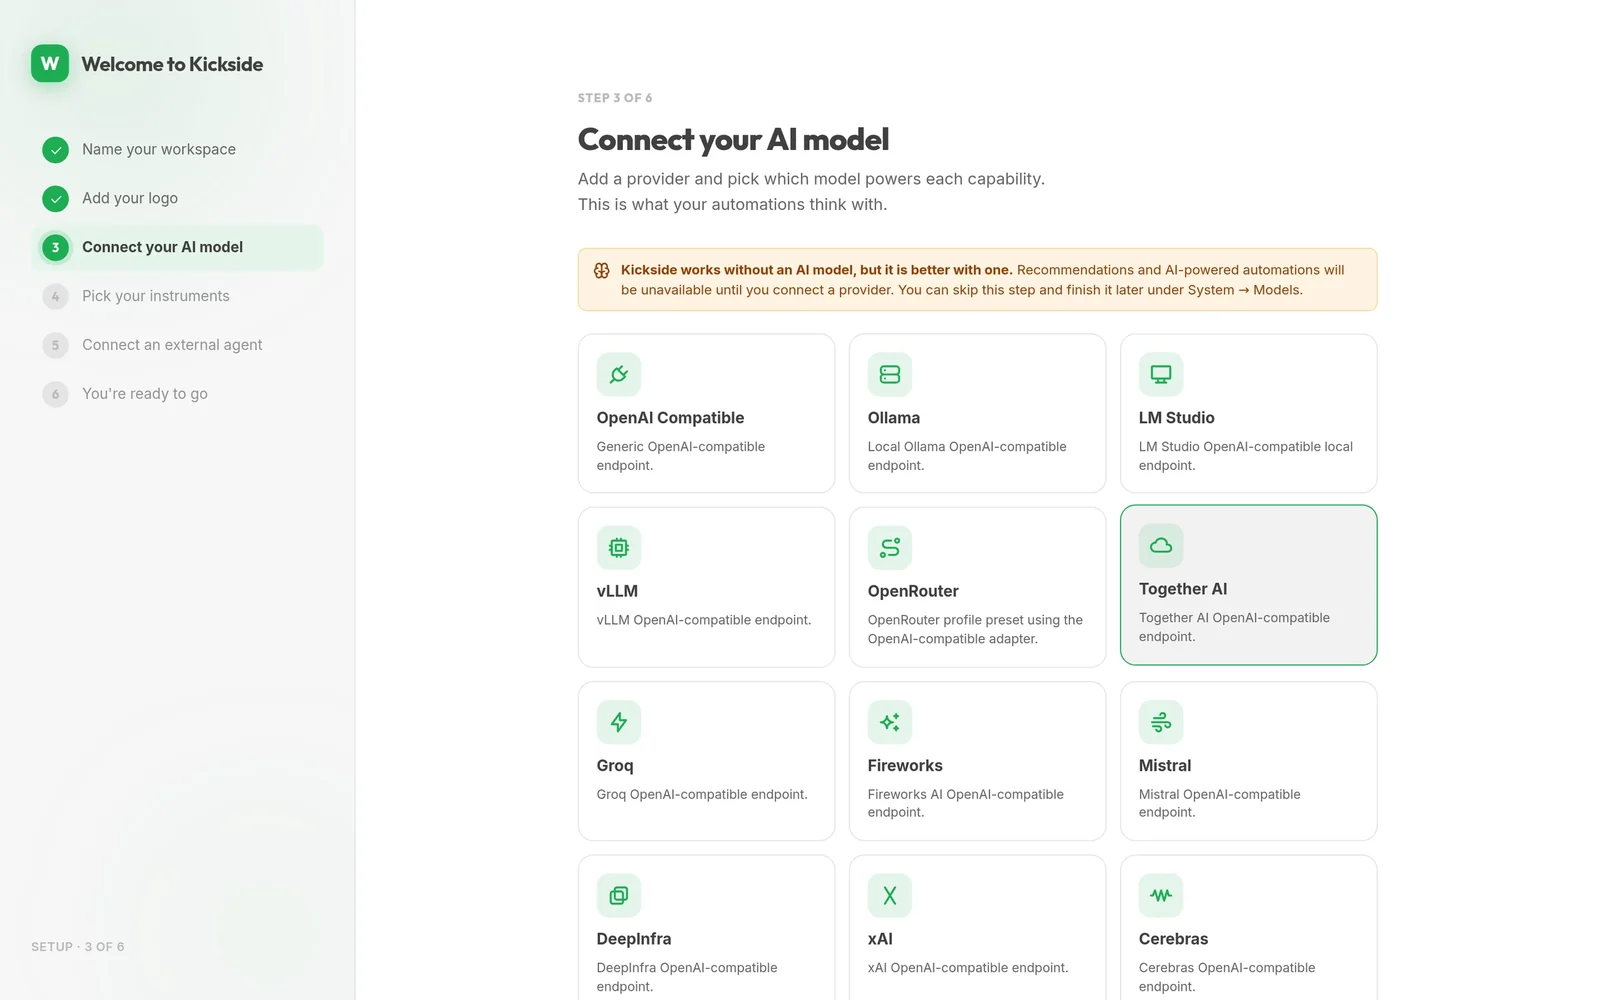
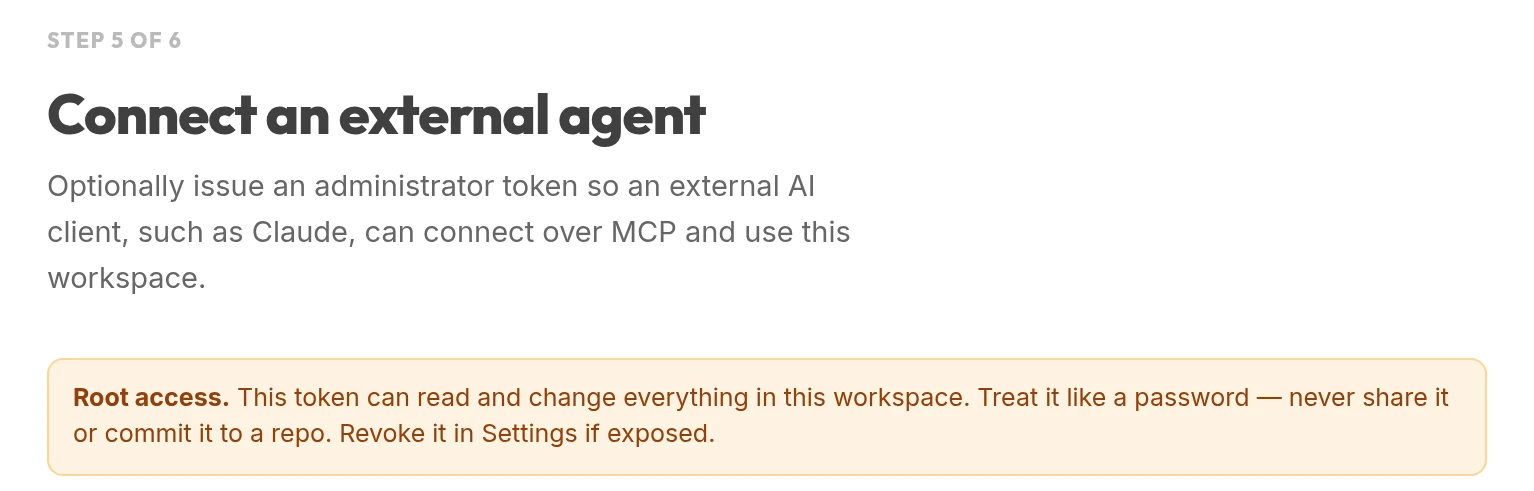
The first time you open your copy, a six-step setup walks through naming the copy, connecting a model, picking modules and connecting an external agent. You can skip the model step and finish it later.
Connect your AI model
Pick a provider: any OpenAI-compatible endpoint, a local Ollama or LM Studio, vLLM, or a hosted service. A default model is then picked for each capability.
Connect an external agent
Copy the server address and client config into Claude Code, Cursor or any MCP client.
Three places to look, in order
The docs
Installation, connections, modules and the permission model are all written up at wippy.ai. Start there for anything about how the runtime behaves.
The source
The runtime is public on GitHub under MPL-2.0. If something is behaving oddly you can read the code that is doing it, which is most of the point.
Us
If the install itself fails, tell us what you ran and what it said. That is the kind of message we want, because a broken first minute is our problem rather than yours. Contact us here.
Pick a starting point
Each of these is a page describing what gets built, in what order, and what it will not do.
Read more first, or talk to a person.
The commands are at the top of this page. Everything else about how the runtime behaves is in the docs.